Headlight bulbs are one of the few parts you can change at the roadside, but only if you buy the right fitting and fit it the right way round. The handbook tells you the fitting. The old bulb confirms it.
The common fittings
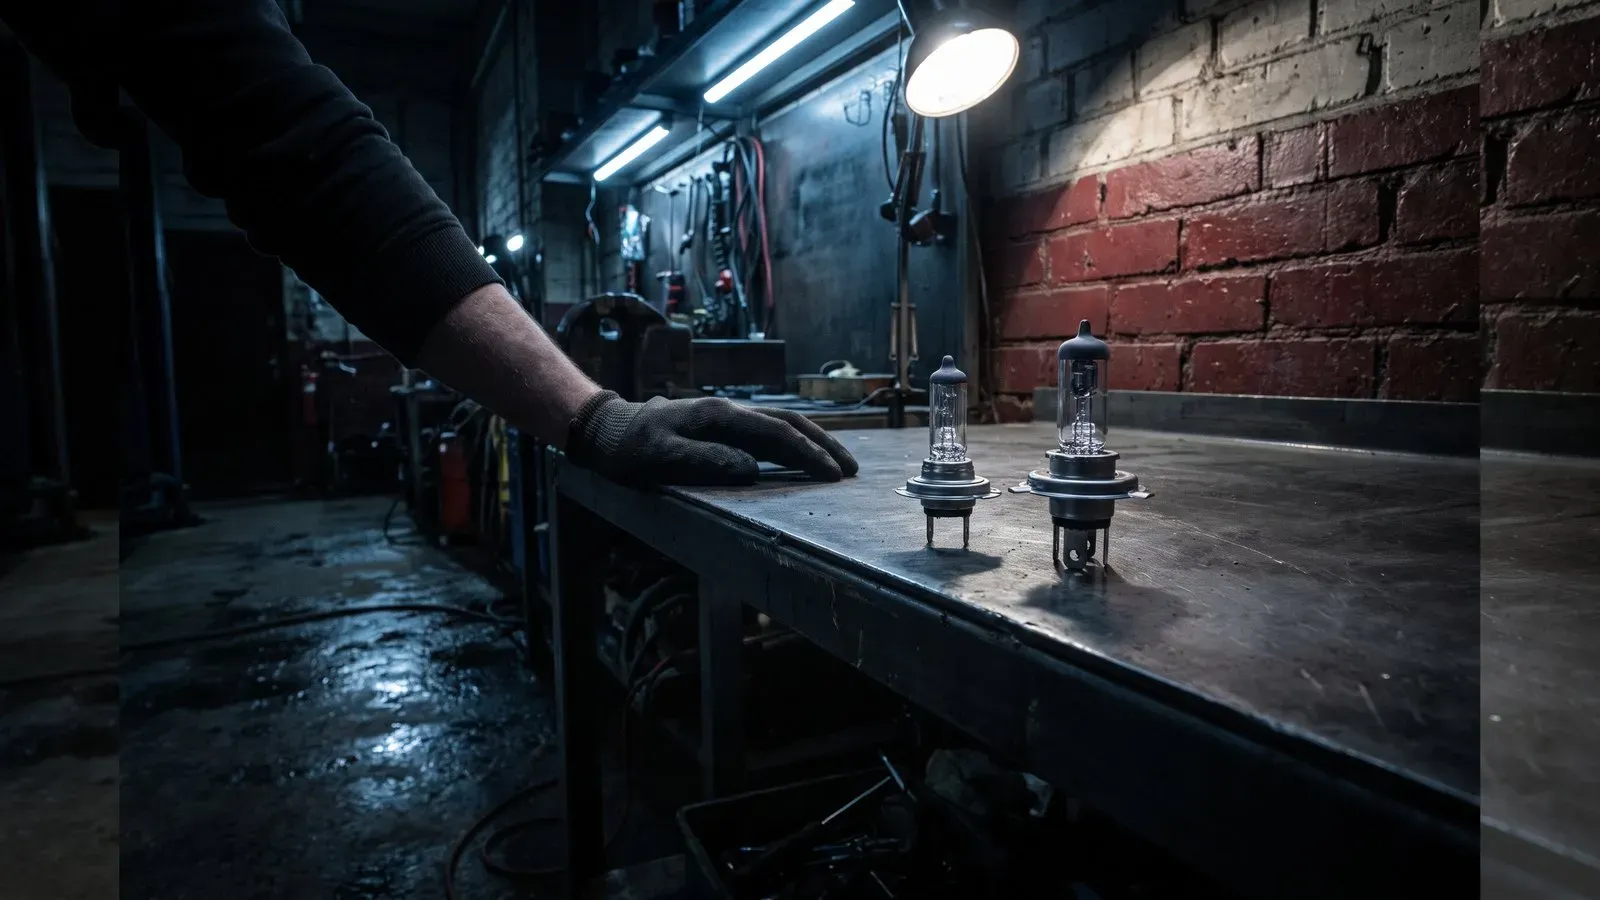
H7 is a single filament bulb with a round plastic base and two pins. It is used for dipped beam on many cars, sometimes with a separate H1 or H7 for main beam. H4 is a twin filament bulb with a rectangular metal flange and three tabs. One filament does dipped beam, the other main beam, so a single H4 can do both jobs.
H1 is a single filament bulb with a single pin and a metal flange. H11 is a single filament bulb with a plastic connector and a right angle plug, common on newer headlamps and fog lamps. There are others, including H8, H9 and HIR2, which is why the handbook matters more than a guess from the shape of the lamp.
Find the right one
Open the handbook to the bulb table. It lists the fitting for each lamp: dipped beam, main beam, fog, indicator. If the handbook is missing, take the old bulb out and read the marking on the base or the glass. H7, H4, H1 and H11 are usually moulded into the plastic. Compare that with the listing before you order.
Buy a matched pair for the headlamps. A new bulb on one side and an old one on the other can leave an uneven colour and a noticeable difference in output. Keep the working old bulb as a spare.
Fitting without touching the glass
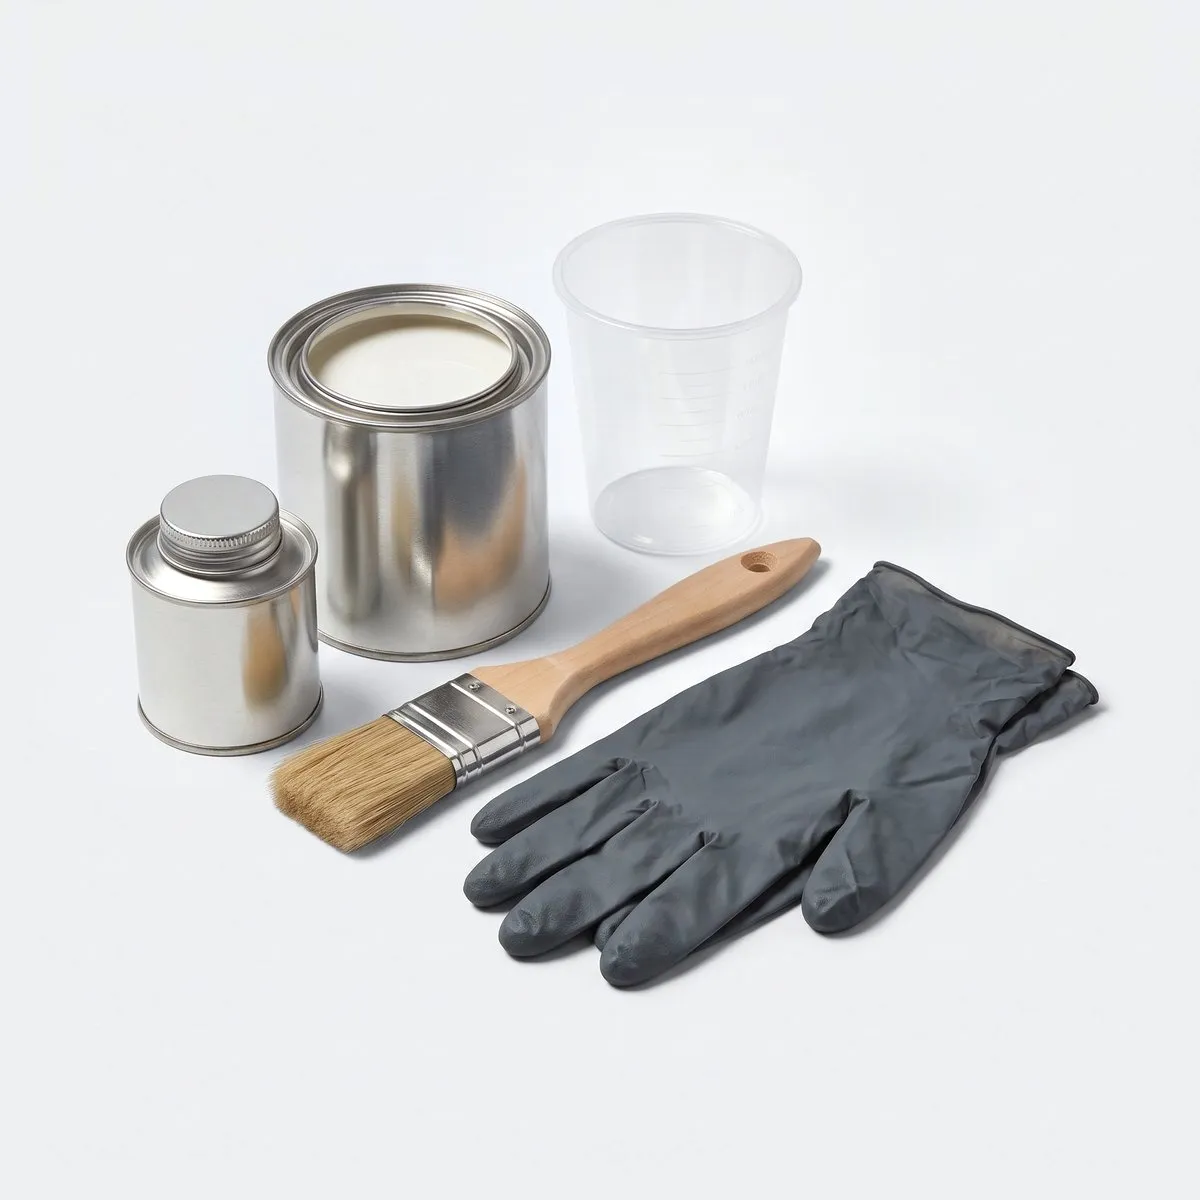
Switch off the ignition and the lights, and let the bulb cool. Quartz glass dislikes skin oil: a fingerprint can heat unevenly and shorten the life of the bulb. Wear clean nitrile gloves and hold the bulb by its base, never the glass.
Unclip the connector, release the retaining spring or twist the holder, and lift the bulb out. Do not force a fitting that will not move. Look at how the old one sat before you remove it, and fit the new one the same way. The locating tab or keyway only goes in one position.
Reconnect, refit the cover and check the beam against a wall on level ground. If the pattern is wrong, the bulb is not seated. Do not adjust the aim to hide a badly seated bulb. Tighten any fixings to the figure in the handbook, because plastic covers crack easily. Nothing here needs you under the car; if a job does, use axle stands, never just a jack.
Road legality
Road bulbs carry an E-mark on the base or the packaging. Check for the mark before you fit. Keep the power and colour within what the lamp was built for, and do not fit a higher output bulb into a housing that was not designed for it.
Bulb change checklist
- Read the bulb table in the handbook.
- Remove the old bulb and read the fitting.
- Check the fitment notes and compare the new bulb with the old.
- Switch off the ignition and lights.
- Put on clean nitrile gloves.
- Release the connector and the retaining clip.
- Seat the new bulb by its keyway.
- Refit the cover and reconnect.
- Check the beam on a wall.
- Keep the old working bulb as a spare.
Two minutes with a handbook saves a return and a wasted evening. If the lamp needs bumper removal or the access is behind the battery, leave it to someone with the right tools.