The brake pads and discs are the parts you can check yourself with a torch, a wheel brace and twenty minutes. You do not need to remove anything to see the pads on most cars. You do need to be honest about what you find, because brakes are not a place for guesswork.
Start with the wheel and the handbook
Park on level ground, chock the wheels you are not lifting and loosen the wheel bolts half a turn before the car goes up. Read the handbook for the jacking points and the wheel bolt torque figure. A trolley jack is for lifting only. Once the car is up, put axle stands under the proper points and lower the car onto them before you put a hand near the arch.
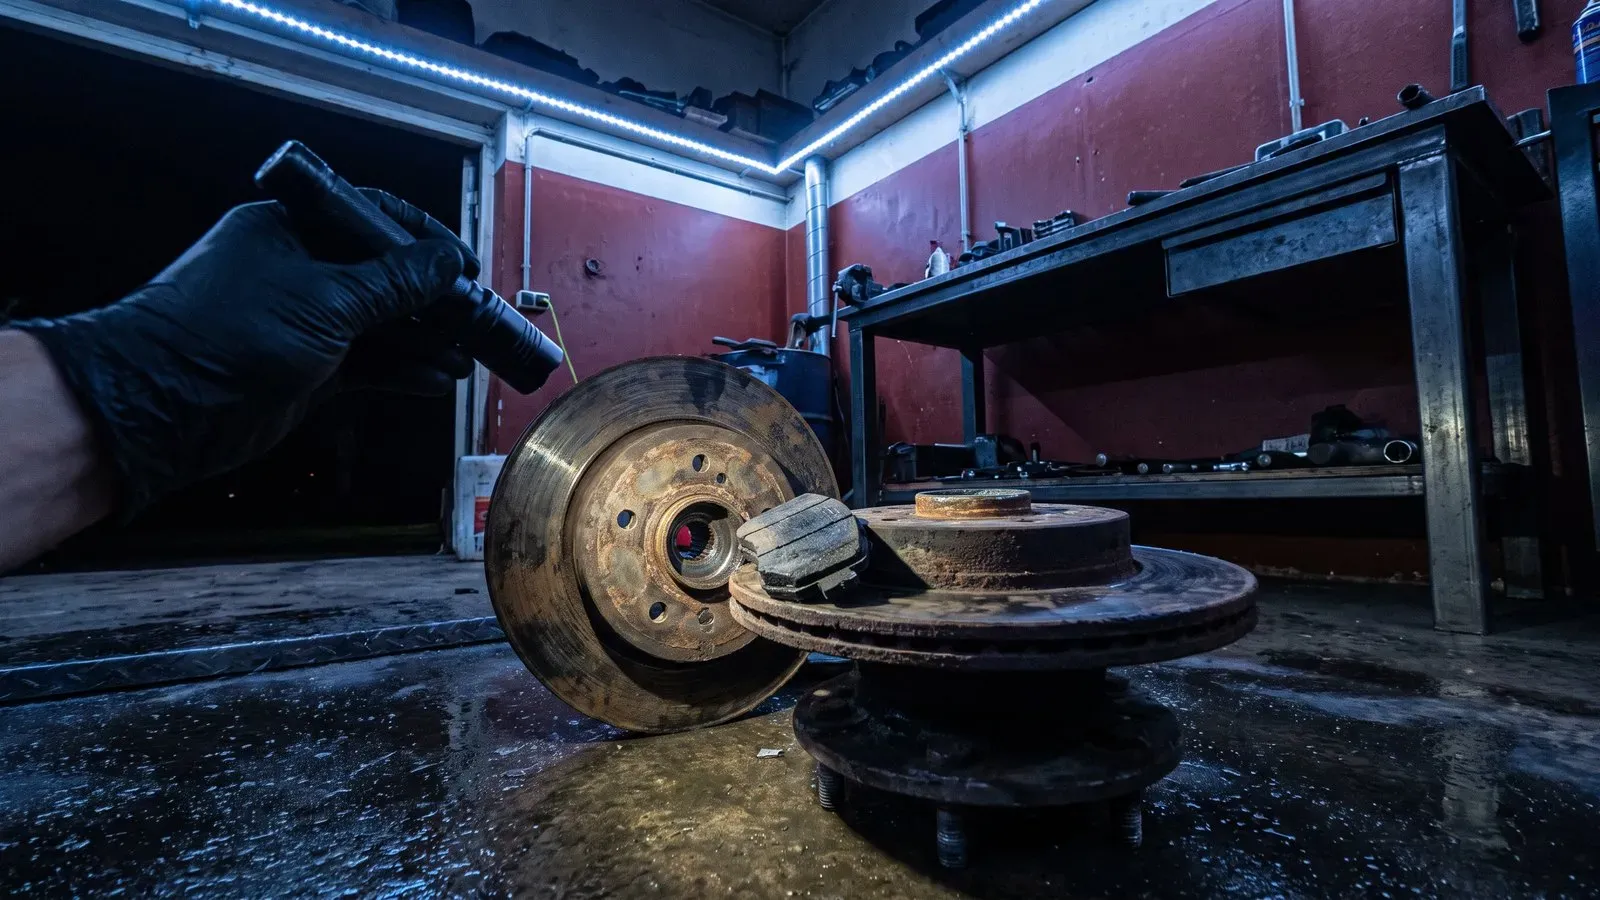
If you are only looking through the spokes, you can leave the wheel on. Turn the wheel until you can see the caliper and shine a torch into the gap between the caliper and the disc.
Check the pads
The pad has a friction material bonded to a steel backing plate. Look at the thickness of the friction material, not the backing. New pads often start around 10 to 12 mm, and most need replacing well before 2 mm. Many pads have a wear indicator, a small metal tab that touches the disc when the material is low. If the tab is touching, the pad is done.
Check both pads on each side of the disc, inner and outer. The inner pad often wears faster and is the one people miss. If one side is much thinner than the other, the caliper may be sticking. That is a repair, not a pad swap.
Check the discs
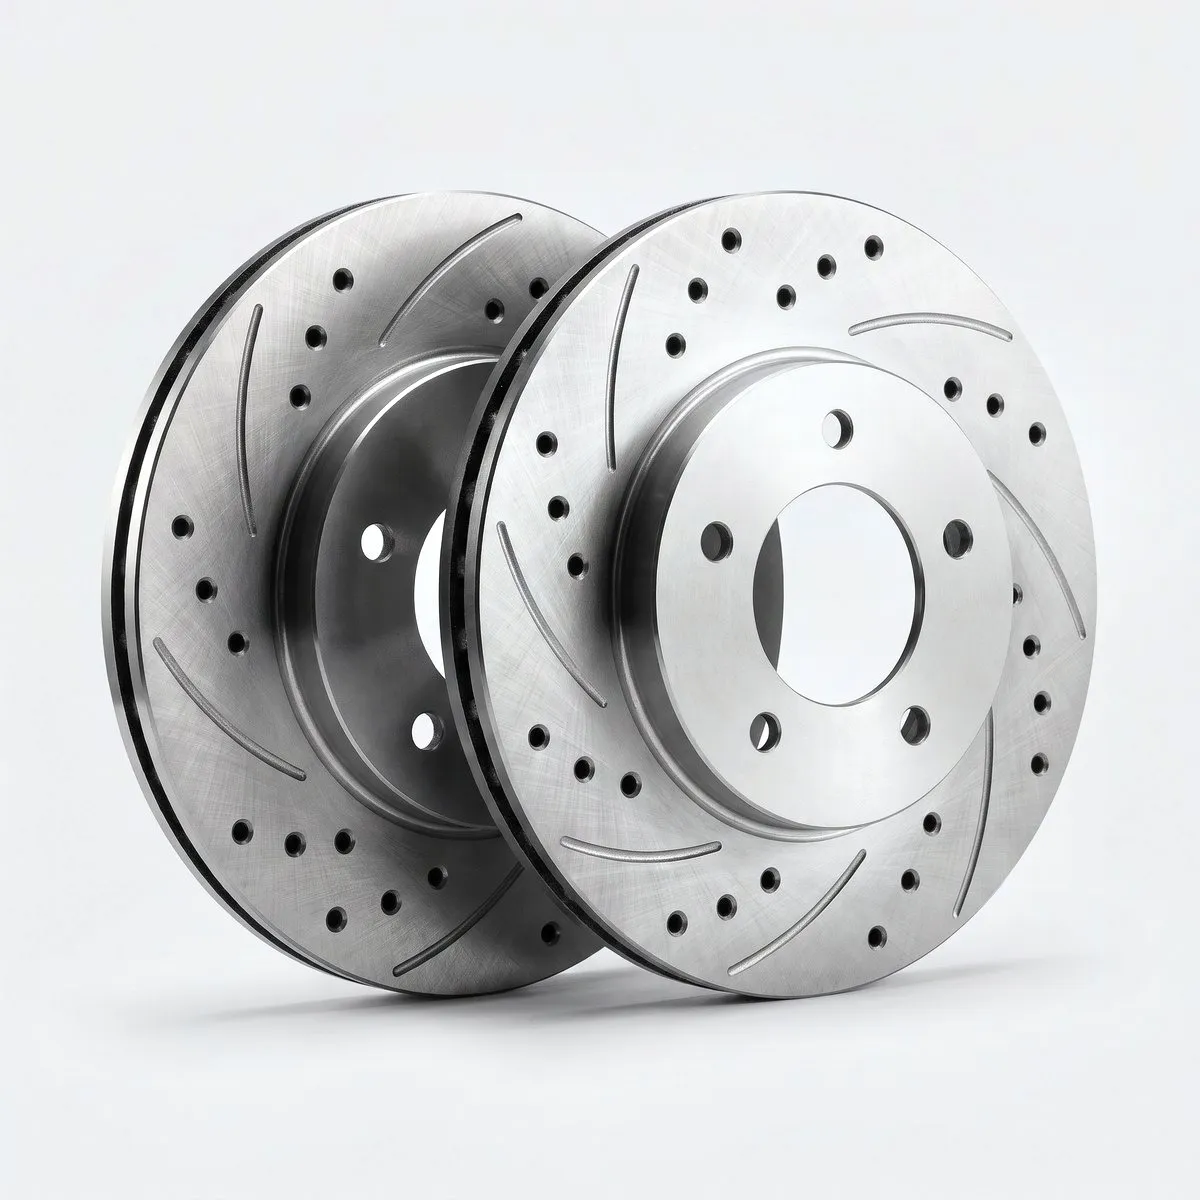
Run a finger across the disc face, with the wheel off and the car safely on stands. A light lip at the outer edge is normal. Deep grooves, blue patches or a strong pulsation through the pedal are not. Measure the thickness with a micrometer if you have one, and compare it with the minimum thickness stamped on the disc or given in the handbook. Below that figure, the disc is scrap.
Look at the inner face too. It is easy to check the outer face and miss a badly corroded inner one, especially on a car that stands for weeks.
Ordering the right parts
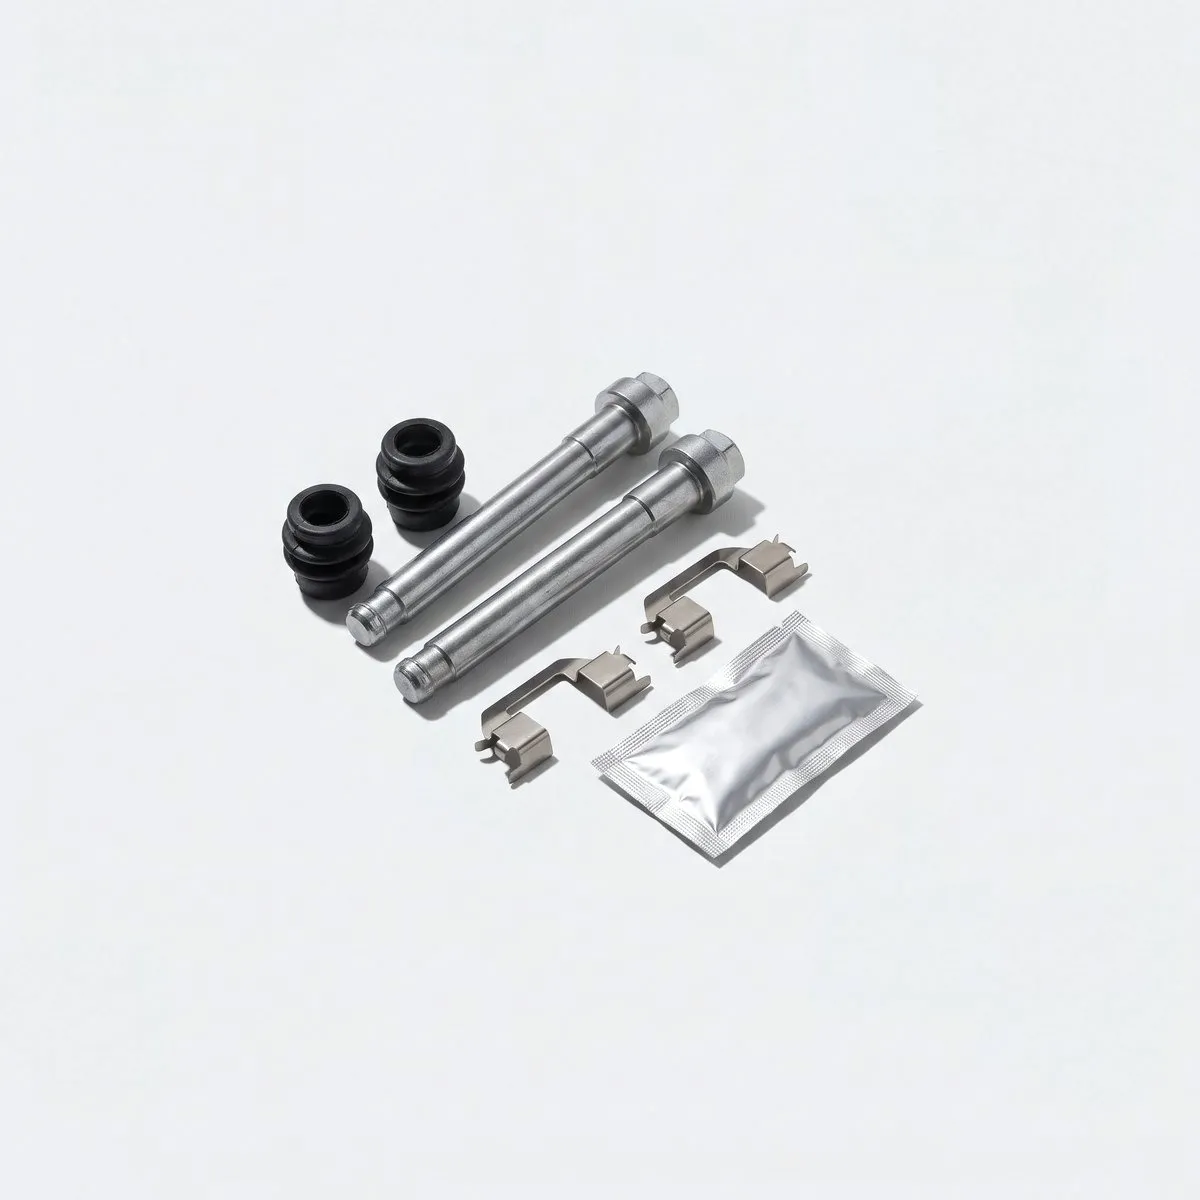
Listed for your car is not the same as the right part. Check the fitment notes on the listing, then compare the new pad or disc with the one you are replacing: diameter, thickness, height, the position of the locating holes and the shape of the backing plate. Take a photo before you fit anything.
When you refit the wheel, torque the bolts to the figure in the handbook with a torque wrench, in a star pattern, with the car back on the ground.
A ten minute check
- Chock the wheels and loosen the bolts.
- Read the handbook for jacking points and torque figures.
- Lift the car and lower it onto axle stands.
- Shine a torch between the caliper and the disc.
- Measure the friction material on both pads.
- Feel the disc face for grooves and lips.
- Check the disc thickness against the minimum.
- Look at the inner face of the disc.
- Compare the new parts with the old ones.
- Refit the wheel and torque the bolts on the ground.
Brake work is not difficult, but it is unforgiving. If a caliper is sticking, a hose is cracked or a disc is below its minimum, stop and get the car looked at. The parts counter can help you match the right pad and disc, but the final check under the car is yours.